It’s always a pleasure guest blogging for Seniorologie – an inspirational blog dedicated to the study of senior portrait photography!! If you are a High School Senior Photographer then you definitely want to follow their Blog & Facebook page – always such a wealth of information from so many talented photographers across the US! Thank you Leslie for the opportunity 🙂
__________________________________________________________________________________________
Hello there again! I’m excited to talk with you about getting it right in camera, and why it’s so lucrative for your business, and for your sanity
I remember when I first started out I was so overwhelmed with all of the buttons and functions on my camera. One of the best pieces of advice an experienced photographer gave me at the time was to shoot in manual mode from the beginning. As someone who had never picked up a professional DSLR – that was a lot easier said than done! But I ended up taking her advice and to this day, I have never photographed any other way. Not to say the other modes aren’t as good, but I do believe shooting in manual forced me to better understand my camera and how to work with any lighting situation.
The first step of getting it right in camera is also probably the most obvious – assess your surroundings! I taught myself to think of a 1,2,3 step process before I begin any shoot:
1. ISO – I like to shoot as low as possible. The brighter it is outside then the lower you can keep your ISO.
2. Aperture – I like to shoot as wide open as possible so anything below 2.8 is what I will set it to.
3. Shutter speed – depending on the first 2 variables and time of the day.

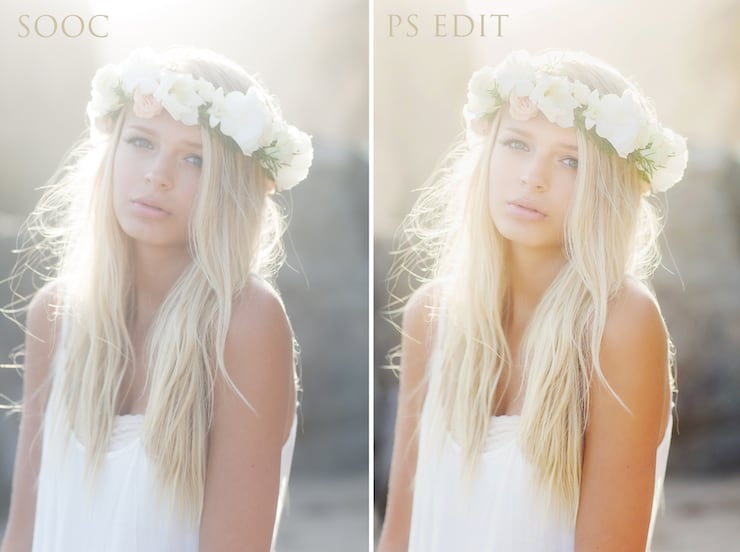
Camera Body: Canon 5D Mark III
Lens: 85 1/2 L
ISO: 400
f/2.8
Shutter Speed: 1/1600
I am all about that dreamy bokeh, so I always want to shoot as wide as I can while keeping my ISO as low as possible to avoid any additional noise. Typically I can depend on 100-400 ISO, f/2.0 – 2.8 and my shutter speed of course varies depending on the time of the day.
Since I am a HUGE lover of backlight I also always work with a reflector, or other light modifier, to bounce as much light as I can back to my subjects face. Since my move to LA I have been doing a lot more shoots on the beach, and although it can have it’s challenges – I absolutely love the natural reflector I get from the white sand!

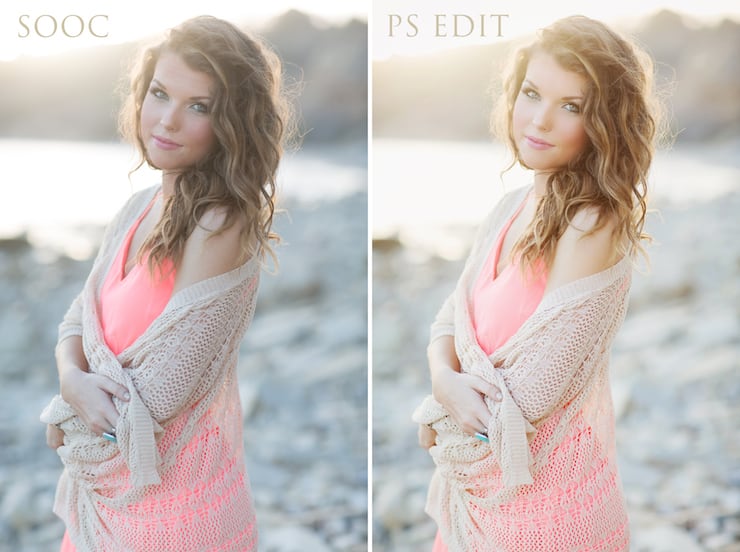
Camera Body: Canon 5D Mark III
Lens: 85 1/2 L
ISO: 125
f/2.2
Shutter Speed: 1/320
As much as I wish I could say I get to stay at those settings the whole time, the truth is when your shooting on location you have all sorts of variables including but not limited to: a cloud, sun setting faster than you can blink, wind moving tree branches around etc. etc. I have been so carried away going off of what I see through my viewfinder then 10 shots later noticing I was completely blown out the whole time (the worst!) so now I make sure to take a peek at the back of my camera at least every 3- 5 shots and adjust my settings as needed. Doing so also reminds me to let my client see my face to let her know, “hi! I’m still back here!” 🙂

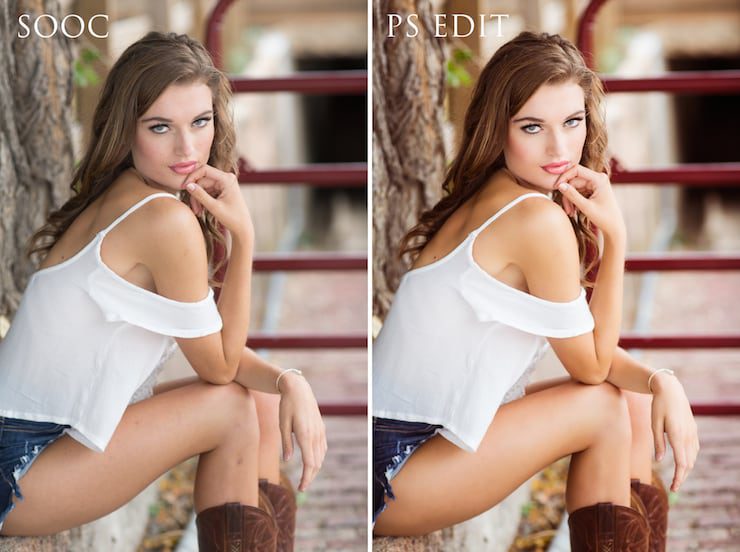
Camera Body: Canon 5D Mark III
Lens: 85 1/2 L
ISO: 400
f/2.5
Shutter Speed: 1/400
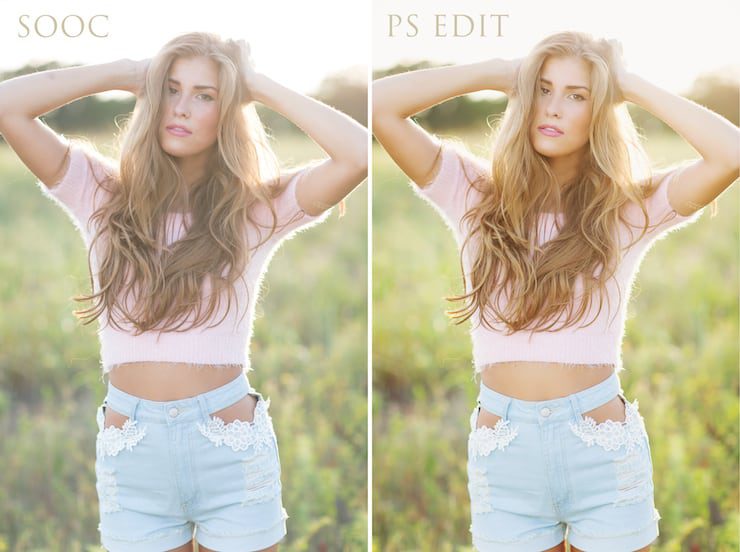
Another mistake I made first starting out was buying every set of photoshop actions known to man – then wasting hours upon hours testing and trying all of them! Nothing at all against actions, because I did eventually end up using two that I love from the Florabella collection, but as the old saying goes – less is more! Luckily, getting to the point where I was so busy that I was working over 60+ hrs a week, it forced me to streamline my editing process. I now have a ‘Clara Bella’ action that I use on every single one of my images. Creating your own go-to edit will also help create a consistent look throughout your session, and also really help define your style as an artist!

Camera Body: Canon 5D Mark III
Lens: 85 1/2 L
ISO: 160
f/2.2
Shutter Speed: 1/500
Once I learned to get it right in camera, it honestly made my editing process (and life! ha) 100x easier. I remember saying out loud to myself, “Oh, I’ll just fix it in Photoshop later.” *cringe* as I’m sure most of you are also in your busy senior season know, time is precious! Saving time on redundant tasks such as editing gives you more time to focus on more important aspects of your business!
Hopefully these tips will help you or inspire you to really focus on getting it right in camera!
Happy shooting!
Claire

